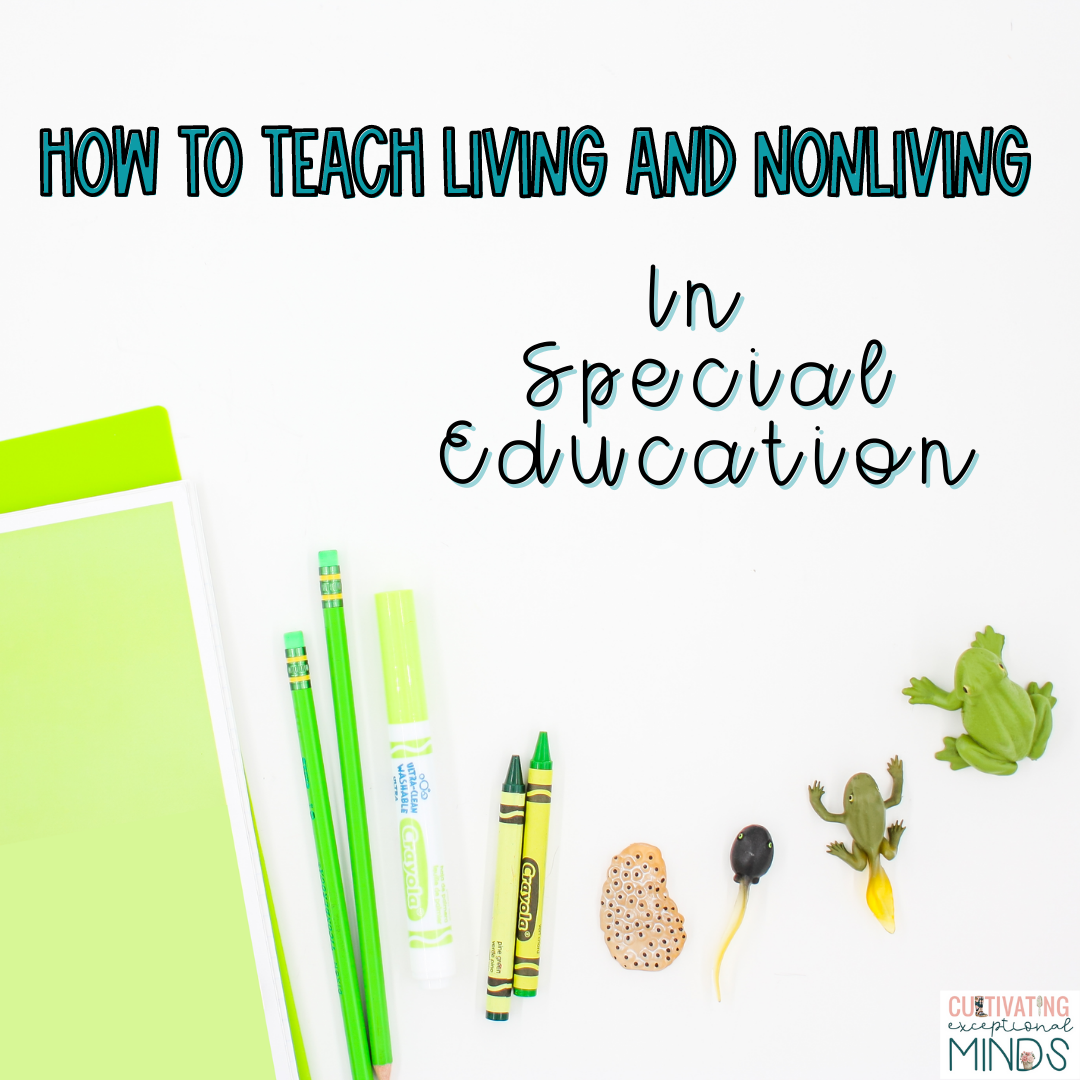
It is an integral first step in learning important science skills, but how do you go about teaching students to identify and understand living and nonliving things? It may be the first step and a base skill, but that doesn’t mean it is easy to teach. Here are the ways I have found to be most effective for teaching this concept in special education.

Science in special education can be tricky. Most of us aren’t given a curriculum and even if we are, it is probably not well suited for our students and their needs. But, we still have to teach science standards. Step number one is usually teaching students to differentiate between living and nonliving things. Here is how you can tackle this concept with ease in your classroom!
Introducing The Concept of Living and Nonliving
The idea of living and nonliving can be a very abstract concept for our special education students. Here are some ways you can help introduce the concept and make it more concrete for them.
Hands-on Exploration
One of my favorite ways to introduce this concept is to start with a hands-on exploration. I bring in a variety of objects and set them around the room. Then we observe each of the objects and talk about its features. I model this using one of the objects. If your students need more scaffolding, you could introduce one object as a time, pass it around if possible, and then go over its features.
Here are some objects I like to use for this activity:
- Rock (nonliving)
- Plant (living)
- Book (nonliving)
- Ant farm (living)
- Sock or other piece of clothing (nonliving)
- Goldfish/class pet (living)
Then as a class we decide which items are living and nonliving. I show a visual diagram of examples of living and nonliving things and give each student a copy to use for later.

Living and Nonliving Videos

Another way you can introduce this concept is through videos. Many of my students enjoy watching videos either on their iPad or on the classroom projector, so I do my best to include them into our lessons.
You can find many videos that explain the concept in simple terms and give lots of examples to help students understand.
P.S. If you don’t want to spend hours searching YouTube, my Living and Nonliving Things Unit comes with a whole list of videos perfect for introducing this concept.
Living and Nonliving Practice
Once you have introduced the concept of living and nonliving to your students, it is important to provide numerous and varied ways for them to practice identifying items. Here are the top 5 ways I provide practice to my students when learning this concept.
Yes/No Task Cards
Yes/No Task Cards are a great place to start practicing any new concept as students are more likely to contact reinforcement by answering correctly and the effort needed to show what they know is minimal. Plus, Yes/No Task Cards can be easily adapted for a variety of response styles. Here are some ideas for ways students can respond to task cards:

- Pointing to the correct response
- Putting a clothespin on the correct response
- Placing a bingo chip or other manipulative on the correct response
- Circling with a dry erase marker
- Shaking head yes or no (if working one on one)
- Signing yes or no (if working one on one)
- Using an AAC device to say (if working one on one)
When it comes to teaching this concept, I set up task cards with an image of an item at the top with the question, “Is this living?” or “Is this nonliving?” On the bottom of the the card there is a check mark that reads “yes” and an x that reads “no.” These visuals paired with the text helps make the task card practice accessible to all students. Also, visuals are easier to process so using them during the first stage of practice for a new concept is a great idea!
Adapted Books

If you haven’t used adapted books before, I highly recommend using them to practice concepts where students can easily answer yes or no. They are a little more involved than task cards, so I find they are a great next step once students are easily able to answer if an item is a living thing or not.
Adapted books still use visuals but also put more of an emphasis on written text. When practicing this concept, students look at the image on the page, try to read the question (if that is something they are practicing), and then select either a check mark for yes or an x for no. They can also select the word yes or no depending on their skill level. They attach the answer to the page and then move on to the next page.
Since the answers are attached with Velcro, these types of tasks work well for independent time. You can let students answer each page and then review it later to see their understanding. This can give you valuable data about what you might need to reteach or if that student is ready for higher level tasks to practice living or nonliving things.
Simple Identification Worksheets

Moving up the hierarchy of activities, I tend to use simple identification worksheets next. Students have had practice given two choices either yes or no. Now, they need to be able to differentiate between more items and answers.
With these types of worksheets, you use images of living/nonliving things on the page. Students must scan the page and either circle all of the items that are living or nonliving.
Matching
Once students have mastered being able to identify the images of items as living or nonliving, I introduce more written text through matching activities. In one column I put the terms “living” and “nonliving” and in the other column pictures of different items.

Students must look at the first image, decide if it is living or nonliving, and then match it to the correct term on the other side. If you find students are not ready for more written text, there are ways you can scaffold matching activities to meet their needs. For example, you can can designate a symbol to represent living and a symbol to represent nonliving that the student uses throughout tasks. That way they can match image to image to show their understanding.
Living and Nonliving Games
Using games is a great way to get student buy in to concepts and to help work feel less like work. Typically, games are also a little more involved and require students to use multiple skills at once. That is why I sprinkle them throughout our unit as well as use them for the majority of practice towards the end of our unit.

Ready to build on your students’ skills? Try a plant unit! This 5 Parts of a Plant for Kids with Special Needs Ideas post has everything you need to get started!
Need Help With Science Curriculum For Special Education?
After so many years of having to pull together my own resources to teach science in my special education classroom, I’ve created done for you science curriculum for special education resources! Easily teach the concept of living and nonliving with this Living and Nonliving Things Adapted Science Unit resource. Minimal prep for you and maximum results for your students!

Looking to teach more science topics? Grab the Science in Special Ed Bundle. You’ll have all of your bases covered for your science curriculum for special education!

This bundle includes:
- Living and Non-Living Things
- Plant Parts | Plant Life Cycle
- Recycling | Conserving
- States of Matter
- Physical Features of Earth
- Habitats & Environments
- Weather and Seasons
- Force And Motion
- Planets & Outer Space
- Day & Night
No more wondering what you should be teaching for science. I’ve done the work for you!
Don’t Forget to Pin These Living and Nonliving Activities for Later!


